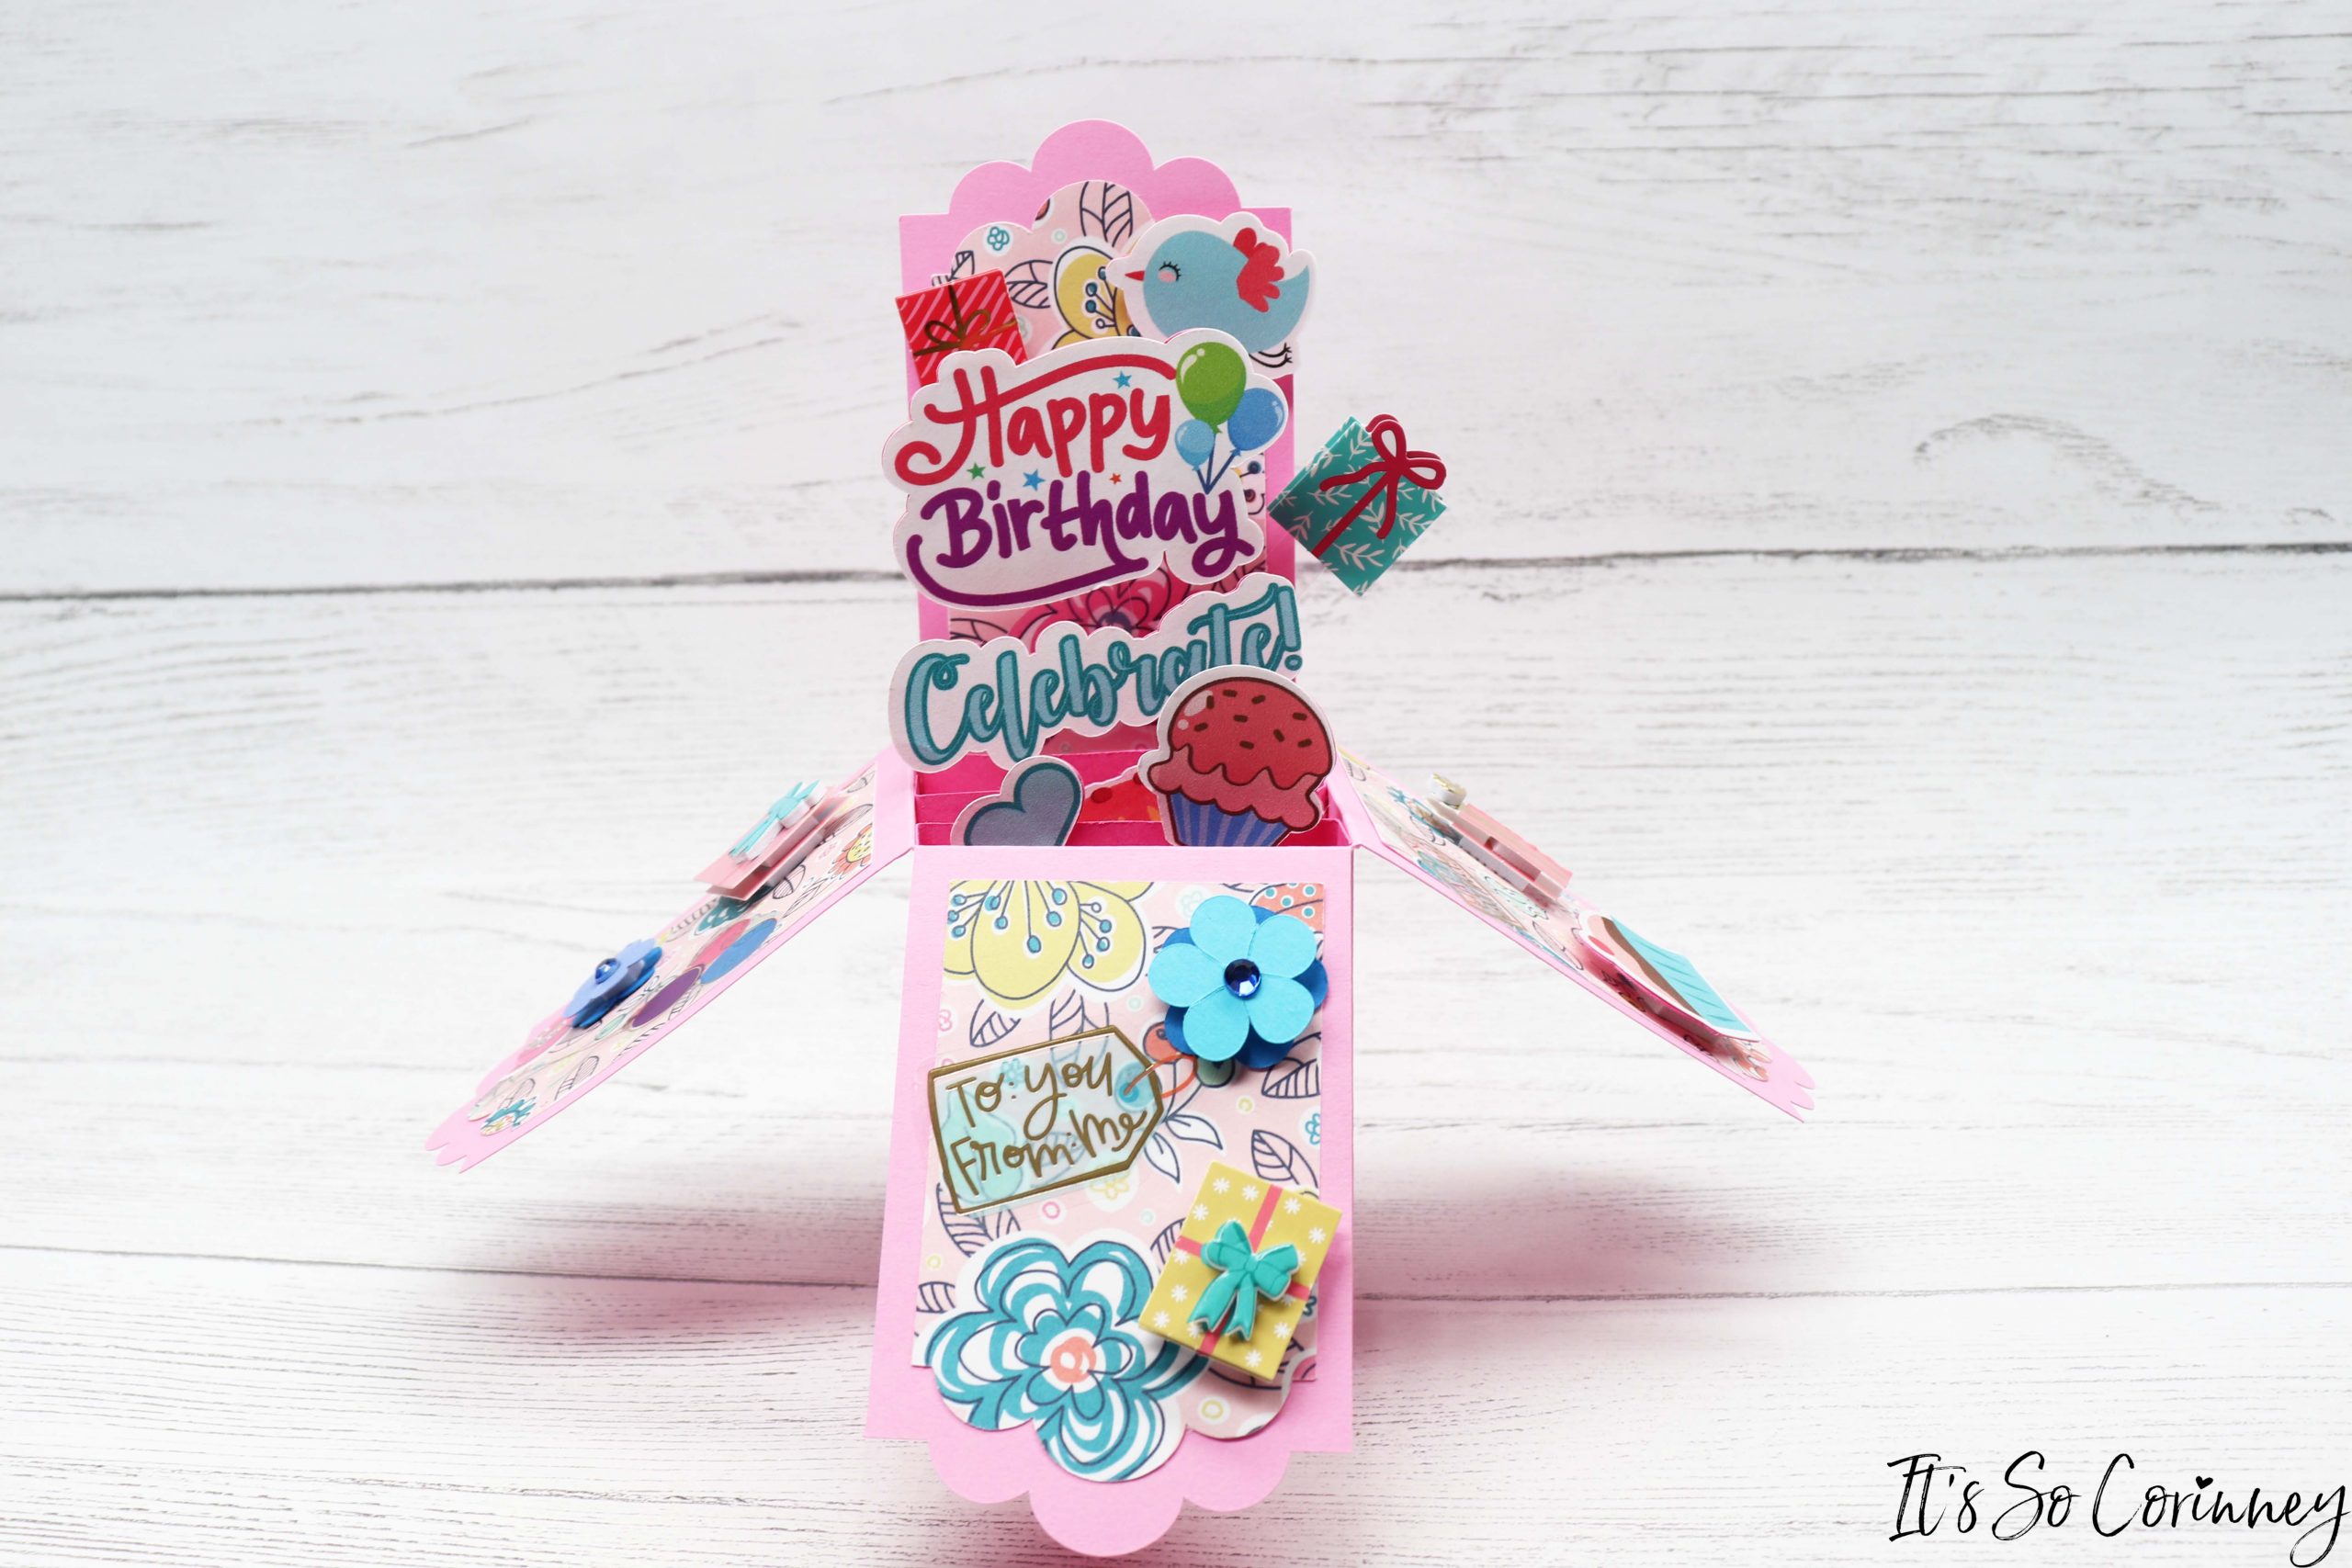

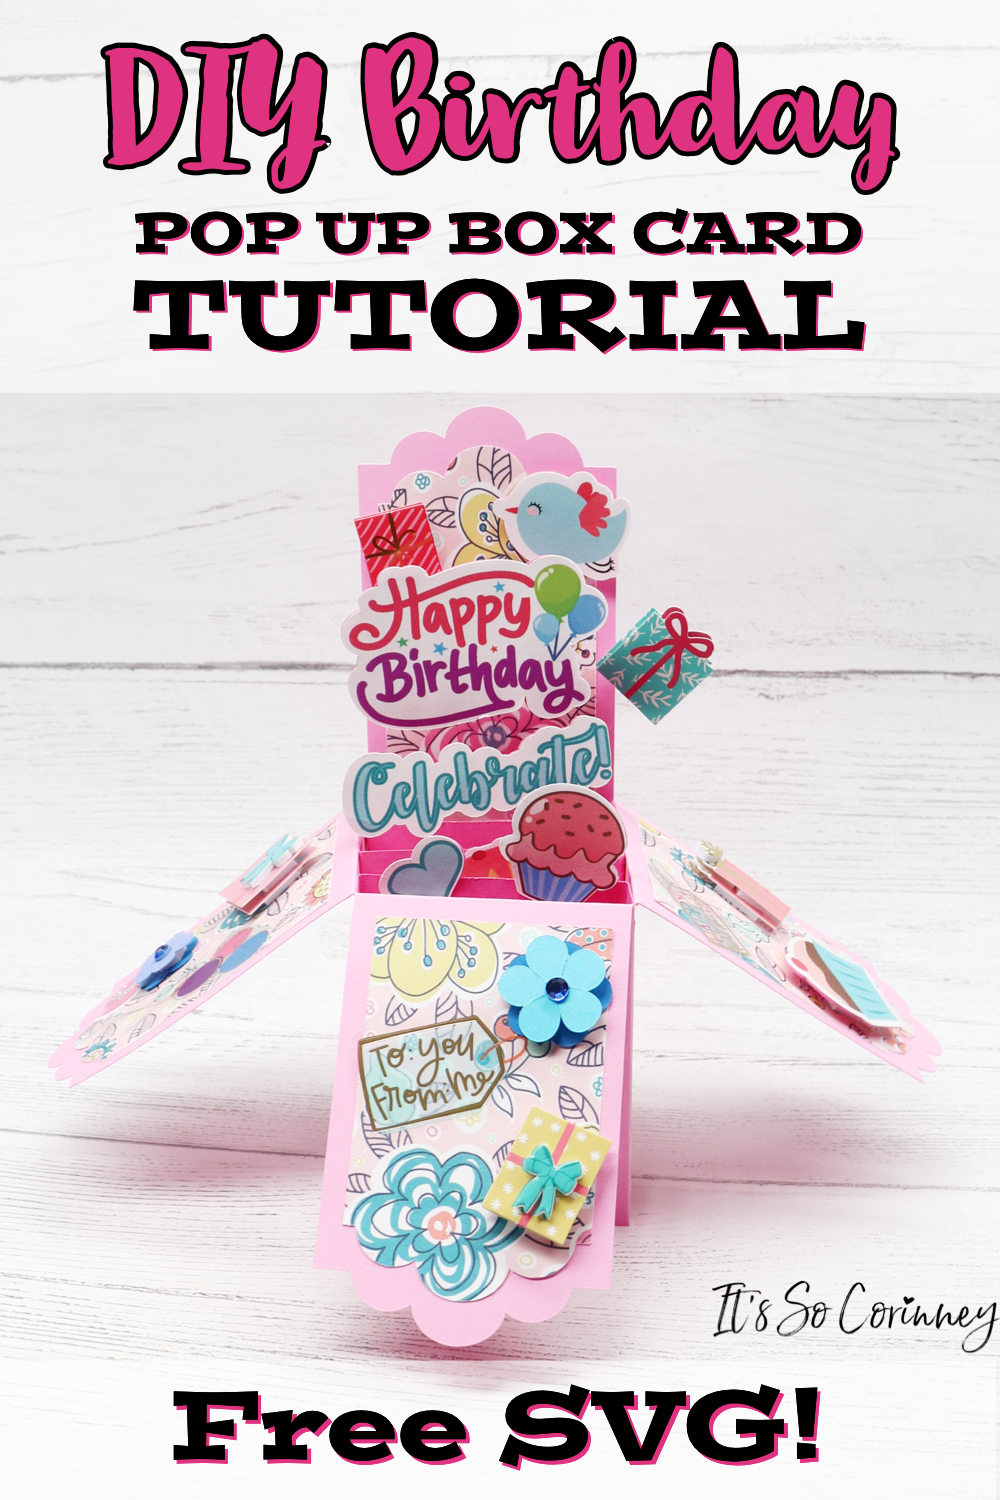
I have always felt that someone’s birthday is a time to show them how much they mean to you! So, when a birthday came around for someone who is super special to me I wanted to get them a nice birthday card. I looked at several stores but quickly realized that all of the really cool pop up box cards were SUPER expensive.
This got me thinking (sometimes a very dangerous thing) that for that price I could buy all of the crafting supplies and make something totally unique. So, that’s what I did! I designed a simple pop up box card that you could use for any occasion such as birthday, baby shower, wedding, and so much more! I also created some birthday die cuts that I made with the Print Then Cut feature in the Cricut Design Space. And….the best part is that this is a super quick craft that looks like you spent forever on it.
This post contains affiliate links. That’s just a fancy way of saying if you click on a link and purchase something I get a little money (total score for me). For more information, see my disclosure here .
To begin the pop up box card you need to download the free SVG file from The Pattern Stash and upload it into Cricut Design Space. Need help doing this? Check out my post How To Upload SVG Files to Cricut Design Space for step-by-step instructions!
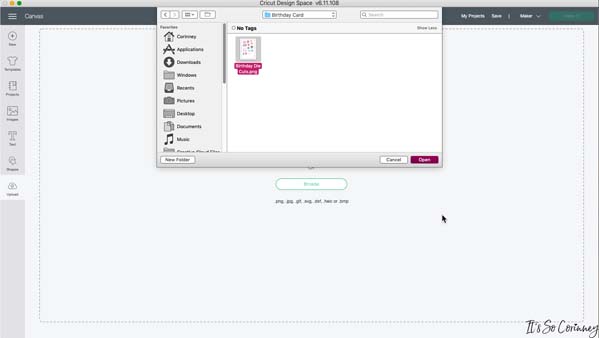
To make the die cuts you need to upload the birthday die cuts PNG file into Cricut Design Space by clicking on the file and clicking Open.
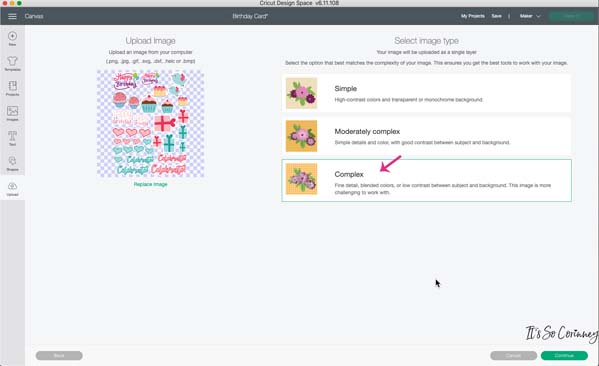
Next, click on Complex in Cricut Design Space then click on Continue.
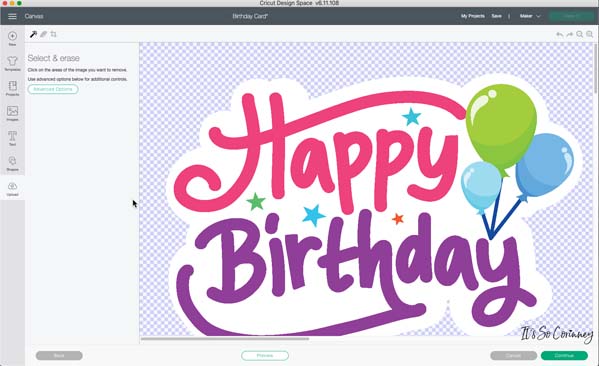
Then on the next page just click on Continue.
Next, choose Print Then Cut Image and click Upload.
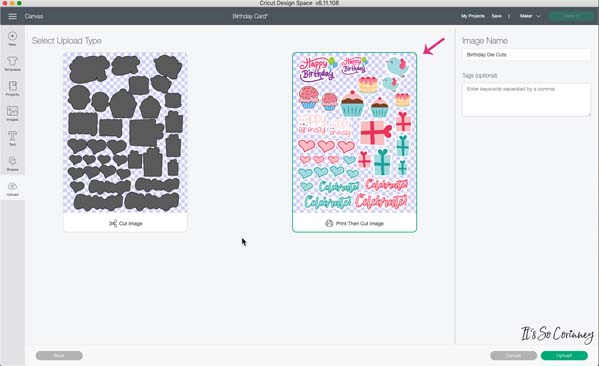
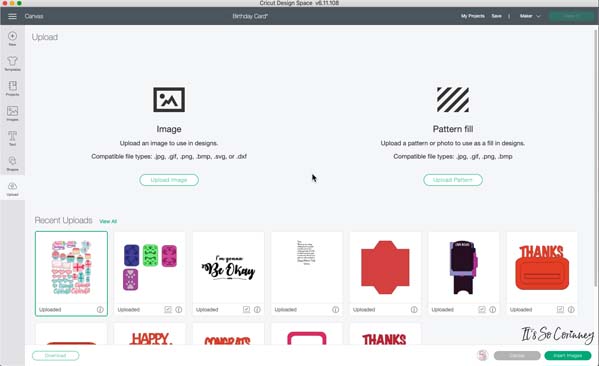
Then choose your image and click Insert Images.
When Cricut Design Space brings the PNG to your canvas it will resize it super large so we need to resize the image.
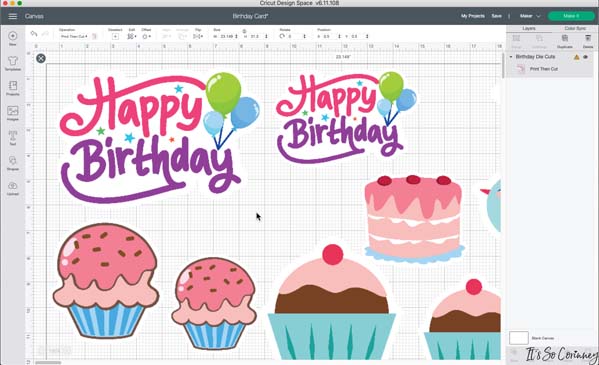
So, make sure the that the lock icon is locked (where pink arrow is) and then change the Width to 6.75 inches. This will resize the image to the proper size that is ready to print!
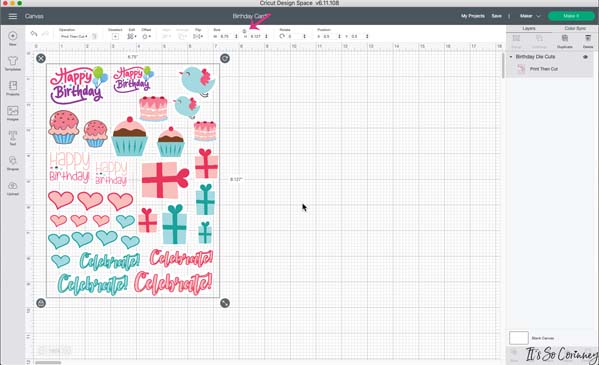
Next, click the Make It button and it will take you to the next screen. Then click on the Send To Printer button. Make sure that your printer is plugged in and load card stock paper into your paper feeder.
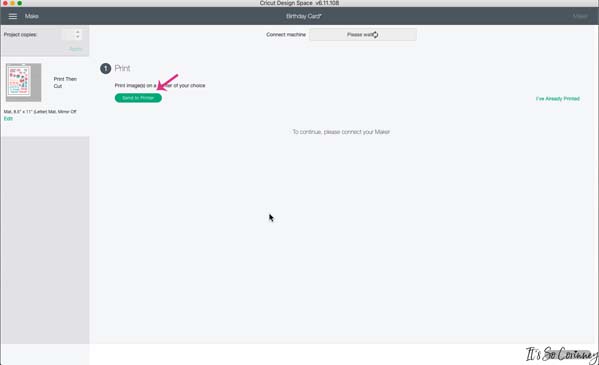
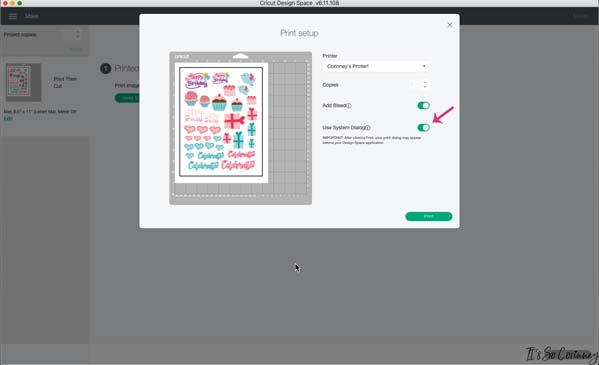
Next when the Print Setup screen pops up click on the Use System Dialog button .
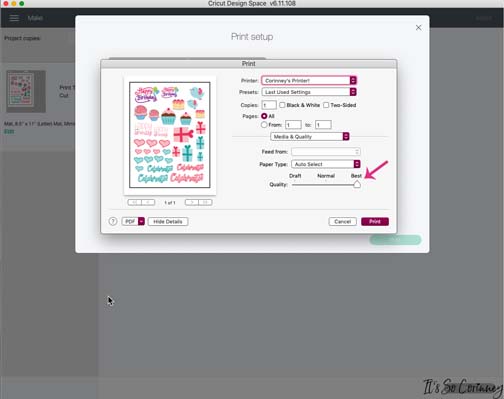
When your printer’s dialog box pops up slide the Quality bar to be set to Best. Please note sometimes the printer system dialog box comes up behind the Cricut Design Space window. Once you have adjusted the quality click the Print button. After you have printed your die cuts then load them into your Cricut and then they will be cut out!
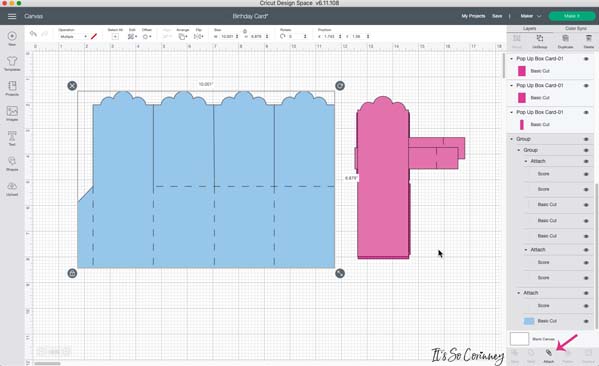
Then it’s time to cut out the pop up box card! For this project you will upload it into Cricut Design space like you would any other SVG. However, once you have added it to your canvas there are a couple of things you need to do. The first thing is to click on the Ungroup button (where the pink arrow is).
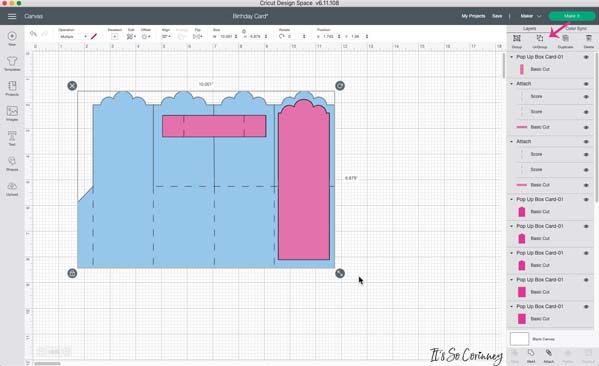
Next, move all of the pink parts off of the blue pop up box card. Then click on the blue box and click on the Attach button (the paper clip in the bottom right corner). That’s it, now you are all set to cut out the box.
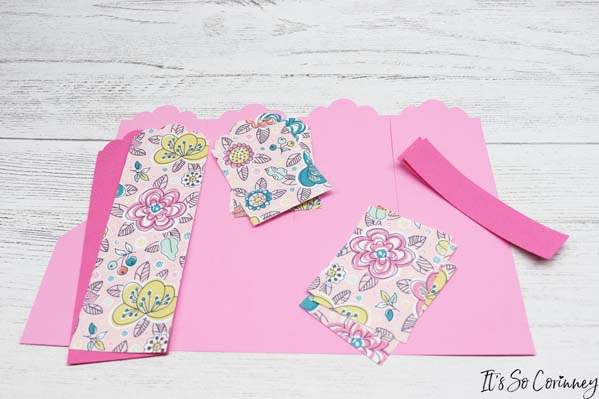
Then you just need to cut all the pieces and lay them out.
Next, use the score lines and fold the flaps down.
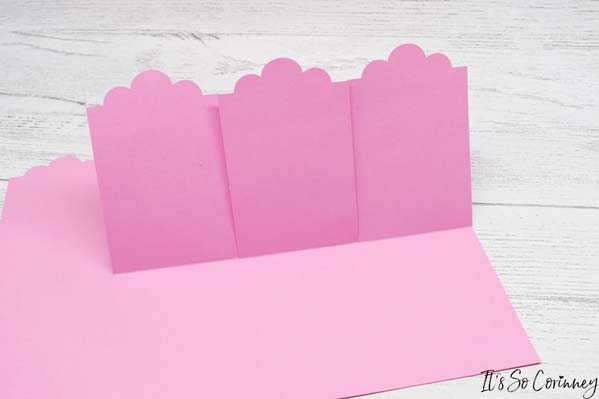
Then fold each section of the pop up box card along the score lines.
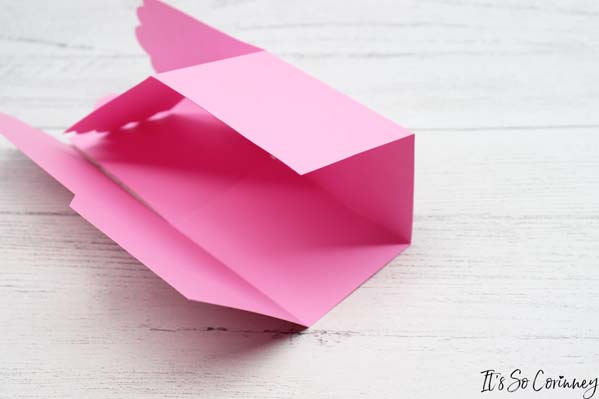
Then fold the end tab along the score line toward the inside of the pop up box card.
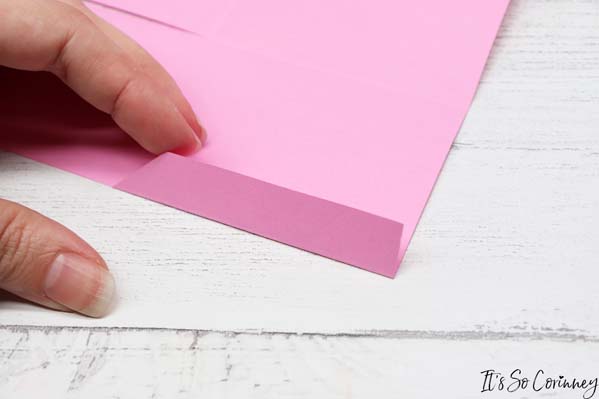
Next, use paper glue or tape to attach one of the long pieces and all three of the scalloped pieces to the inside of the box.
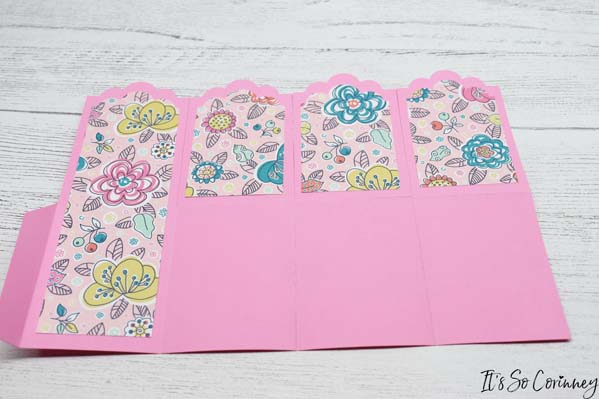
Then flip the box over and tape all three of the rectangles to the bottom part of the back of the box. These should be taped down under the score line.
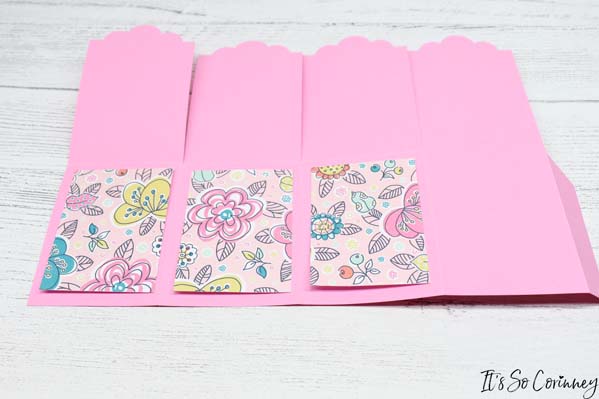
Next, add the other long scalloped piece to the back of the card. Now this is where you would write your card’s message. I suggest you go ahead and write it out before the next step.
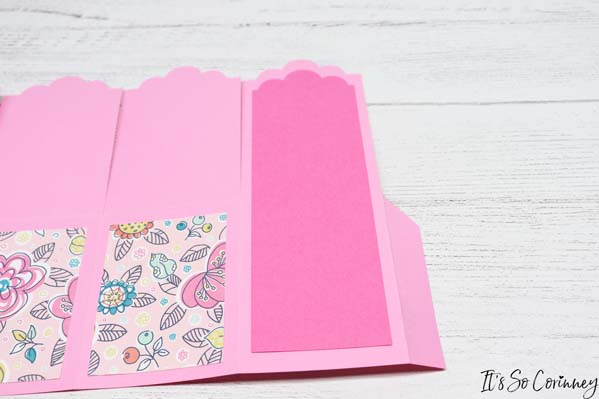
Then once you have filled out your card put glue or tape on the tab and press it to the other side of the box.
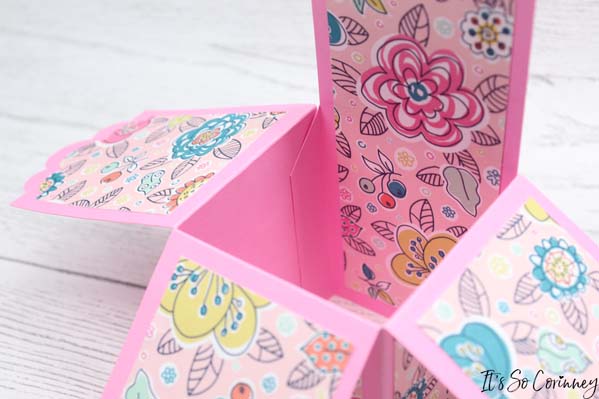
Next, put the flaps up and fold the box flat and press really hard on the taped tab.
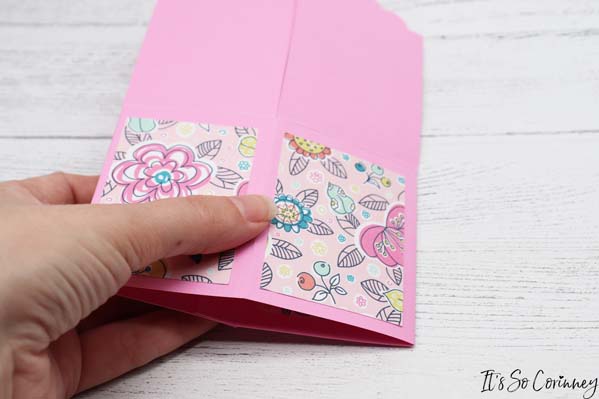
Then fold the inside pieces along the score lines.
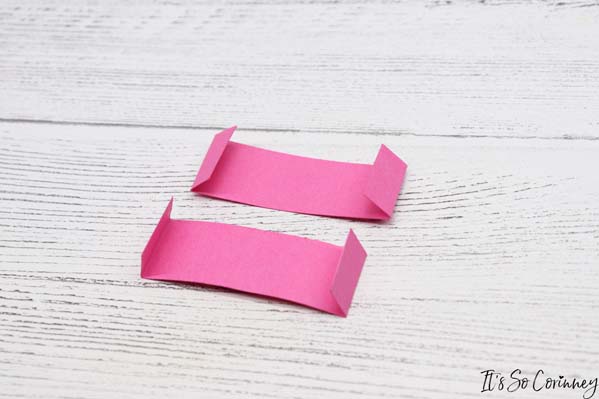
Then add some tape to the small ends of the inside pieces then tape them inside the pop up box card. Put one all the way to the back and one all the way to the front of the box.
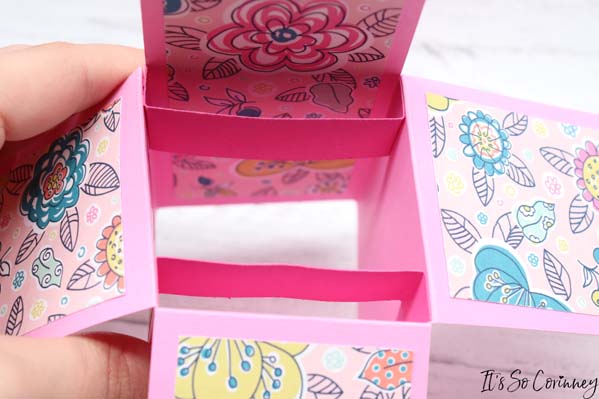
Next, add the third inside piece in the middle of the other two.
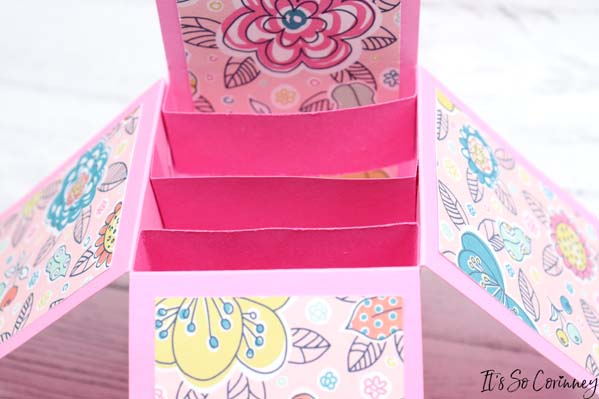 Piece To Pop Up Box Card" width="599" height="399" />
Then once again you want to fold the card back down. When you open it back up make sure that your inside pieces are still attached and don’t need more tape.
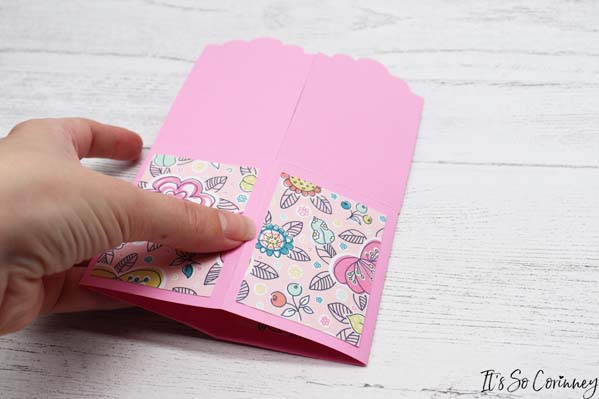
So, now that the basic construction is done all that is left to do is add all the pretty! Start adding all of the 3D stickers and paper die cuts to your pop up box card using tape or foam adhesive squares. I cut 1/4 inch thick strips of acetate paper and taped my die cuts to it so it would look like they were floating!
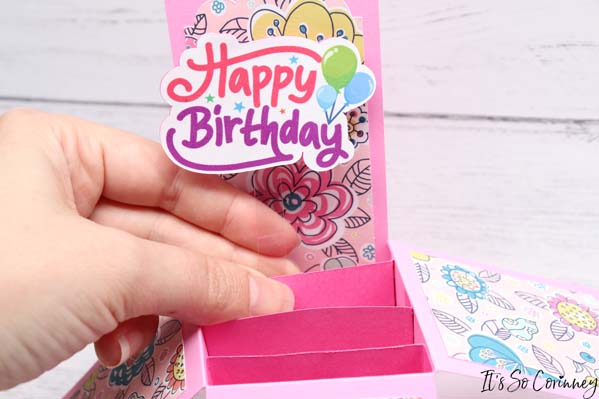
Then keep adding your stickers, die cuts, and paper cut outs! Be sure to decorate the three flaps as well as the main area. Also, after you add a couple of pieces you want to fold the card down to make sure that you can still close it after you’ve added your pretty things.
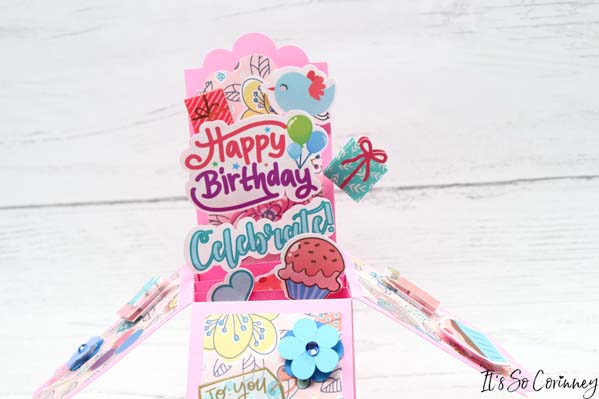
Wasn’t this so easy to make? And the best part is you could use the basic pop up box card for absolutely any occasion! Seriously, just by using different stickers and die cuts you could make this custom for any holiday. I know this is NOT the last time that I make this fun pop up box card!

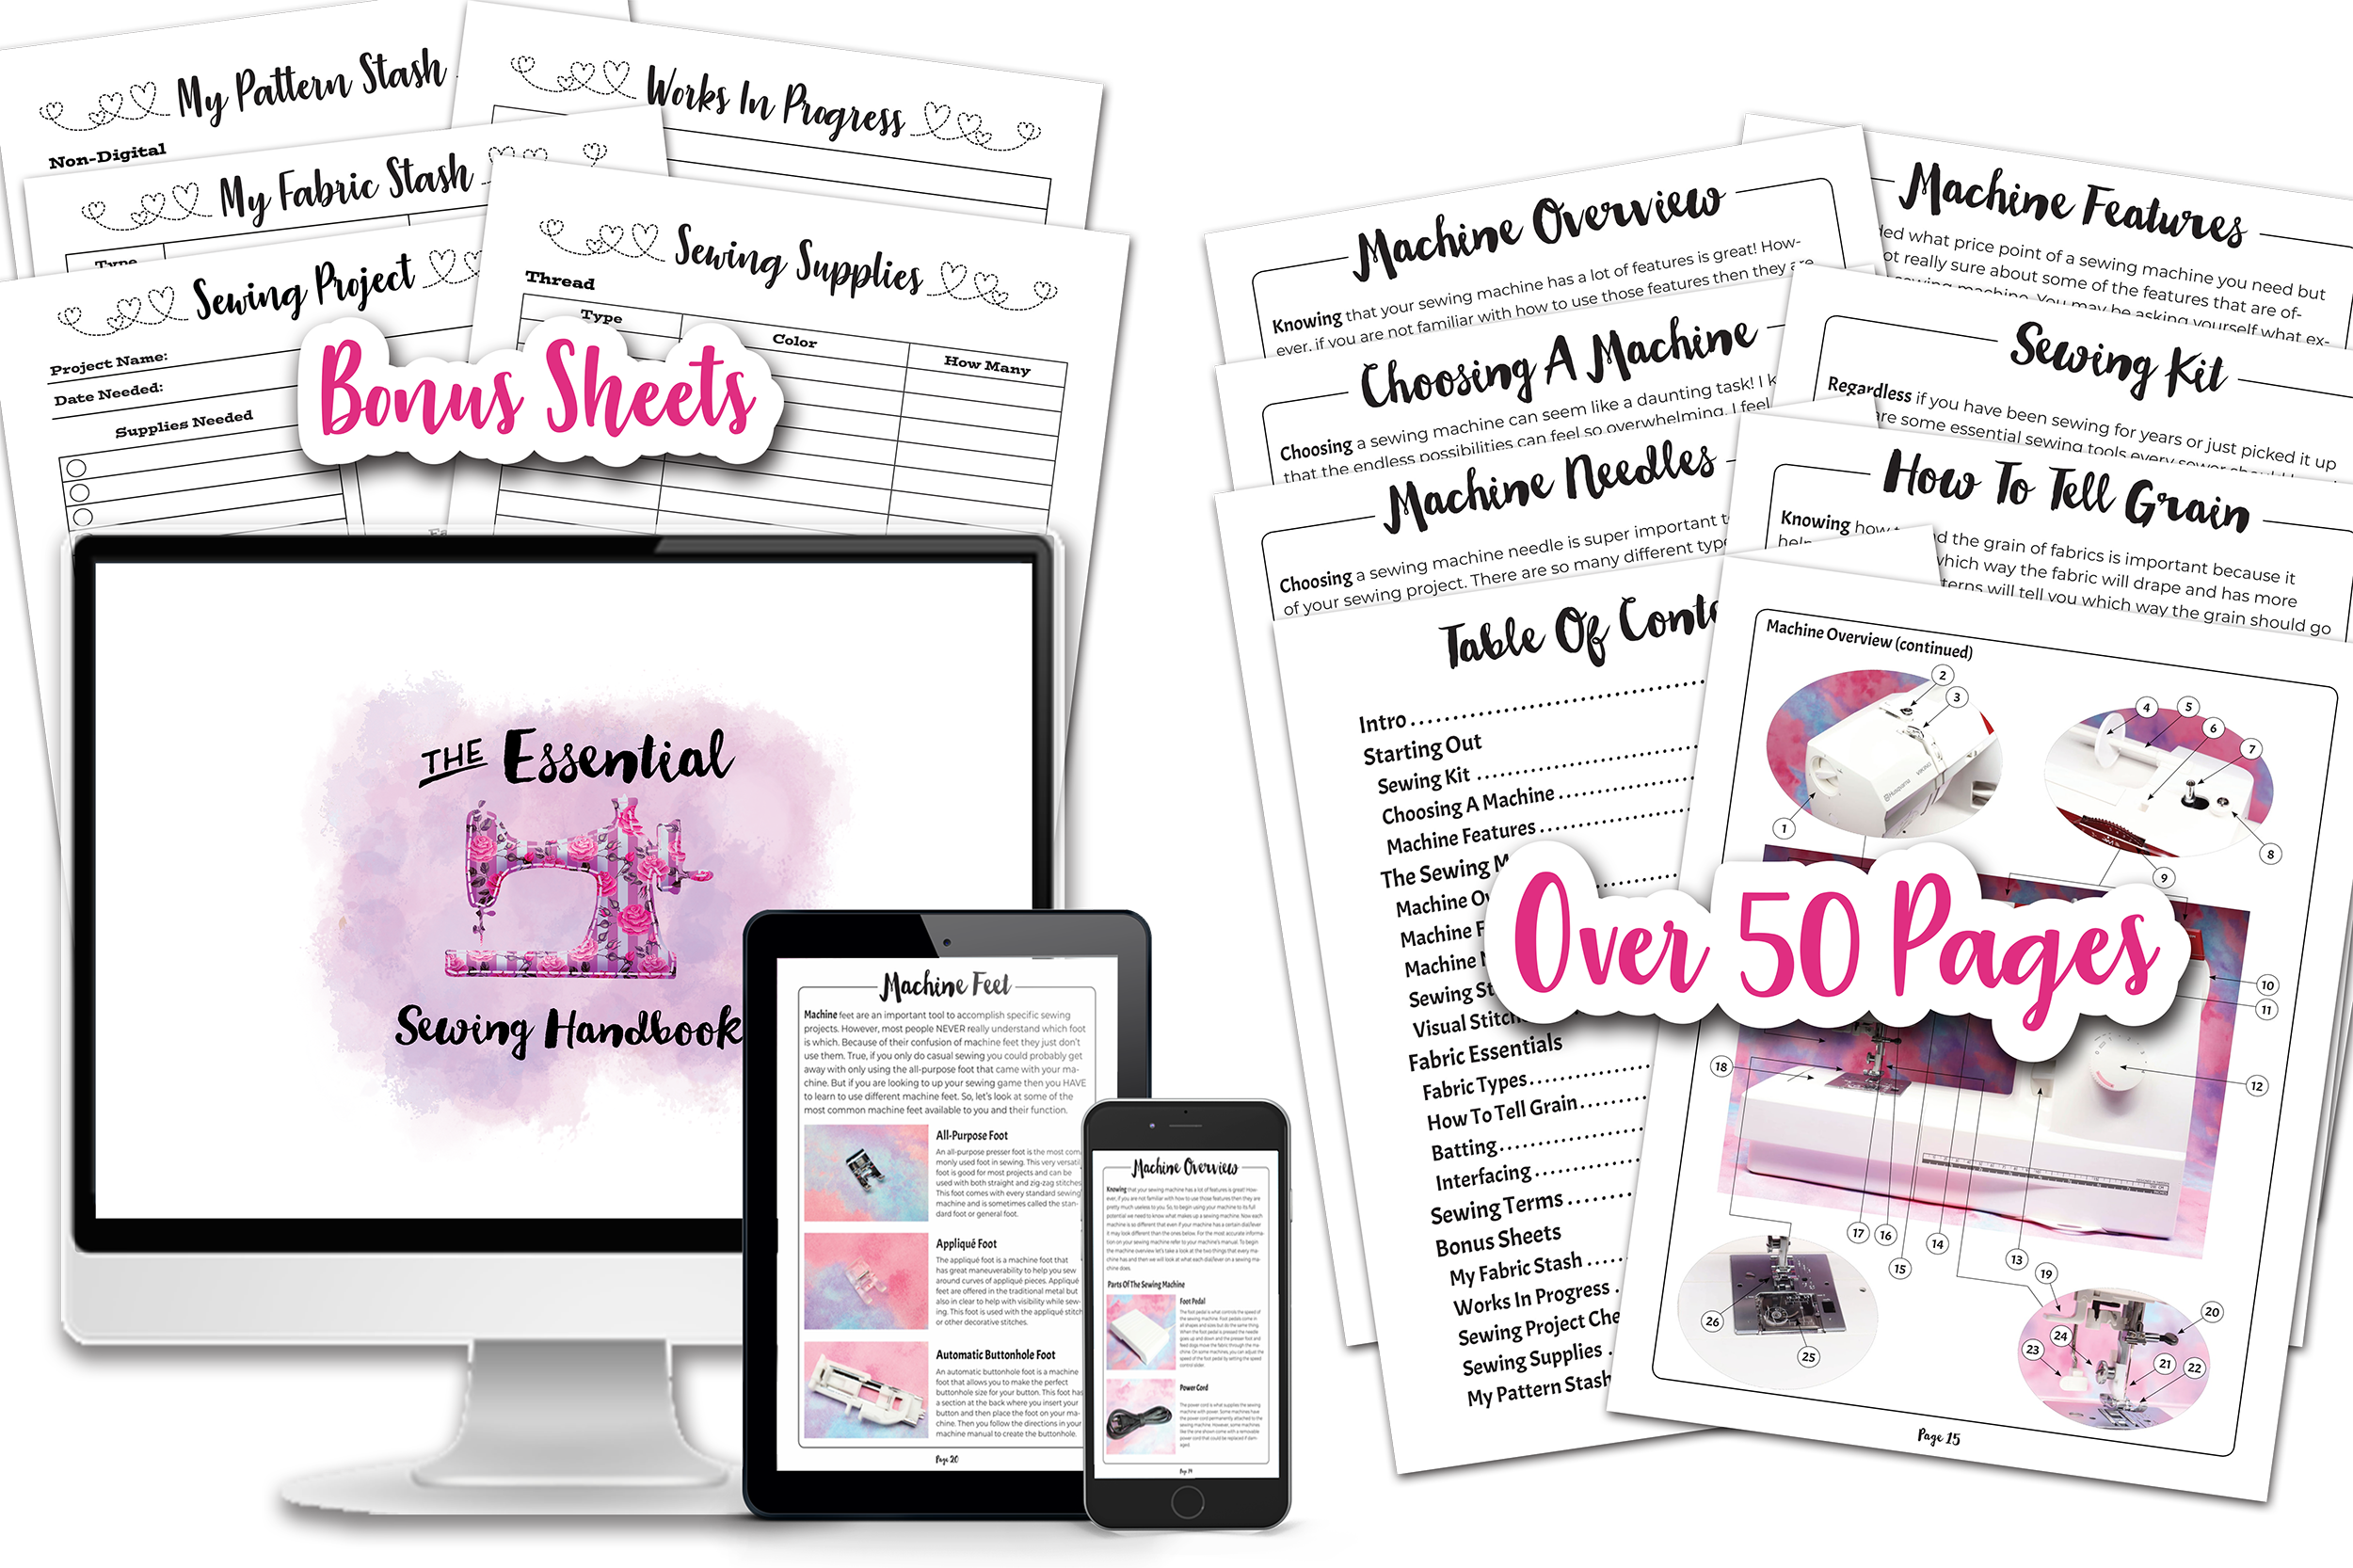
Are you ready to stop putting off sewing projects and gain confidence in sewing? This instant download digital book comes with over 50 pages of sewing knowledge to help you gain confidence in your sewing! Also included is 5 bonus printable sheets to help you keep your sewing projects and supplies more organized!